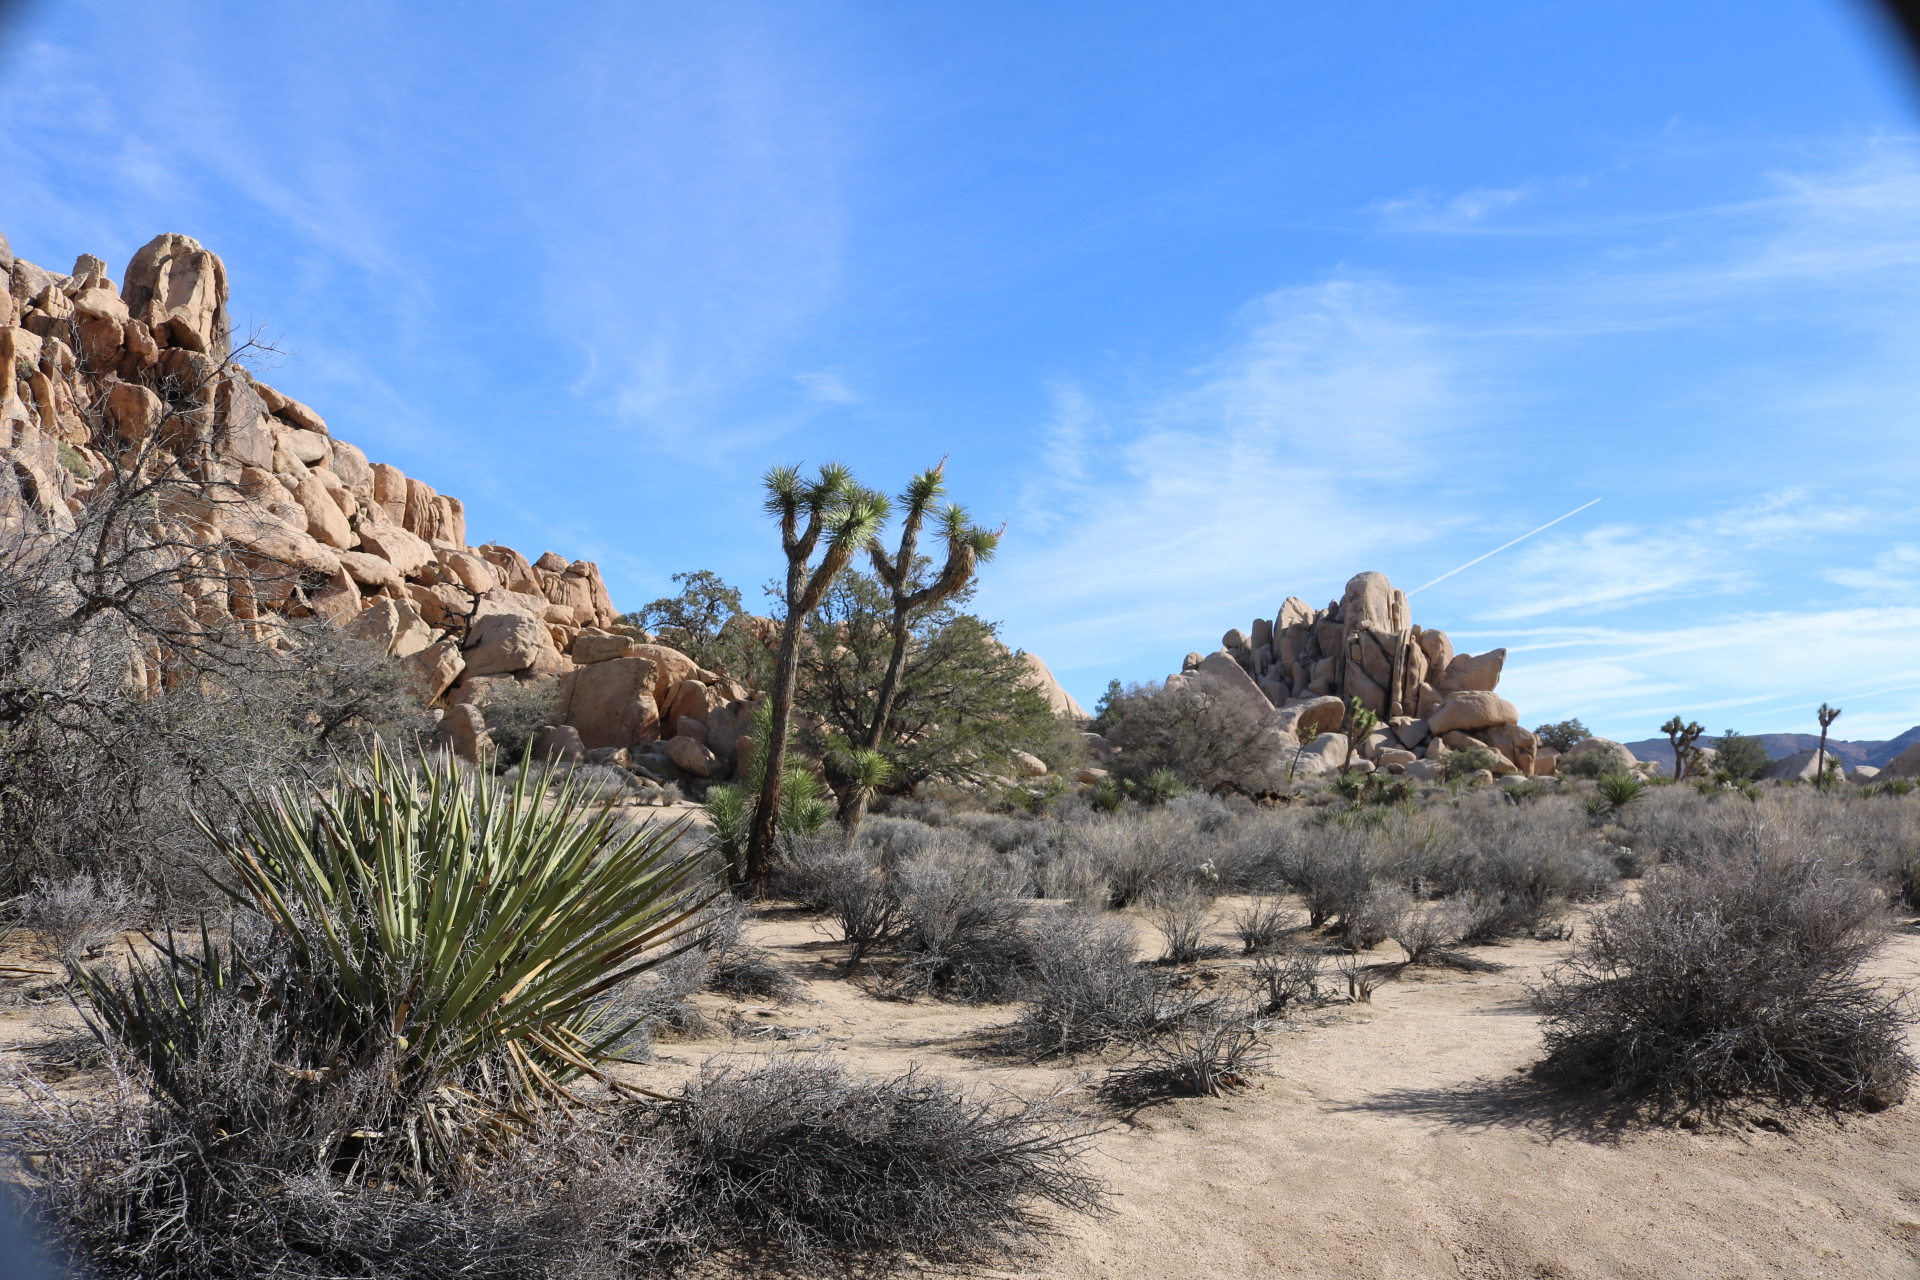
Hidden Valley Nature Loop is a fun place and usually my first stop when visiting Joshua Tree National Park.
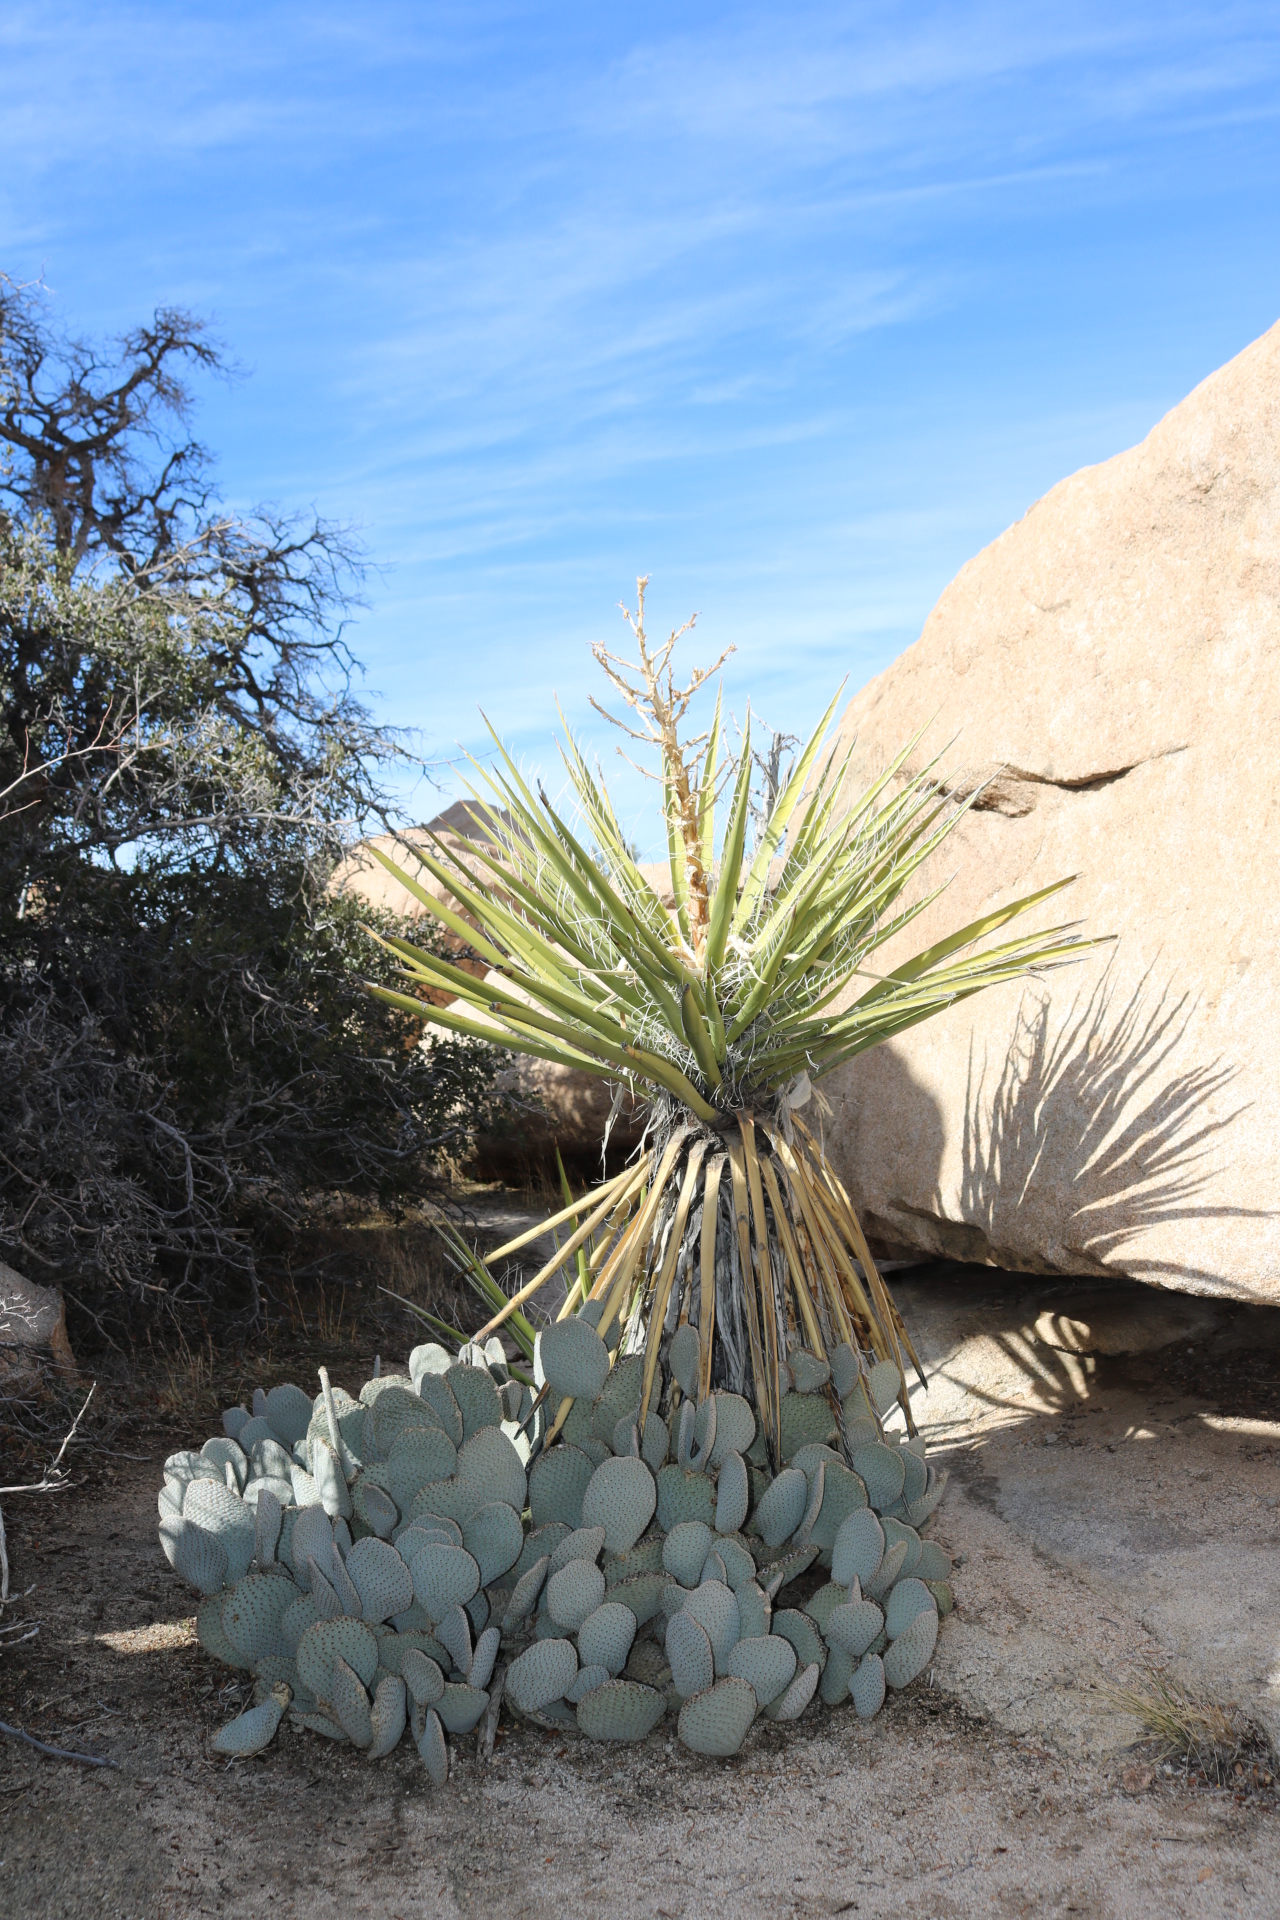
The valley loop is home to several of the native plants that are home to park. Piñon Pine, Yucca, Beaver Tail Cactus and of course, Joshua Trees can be found along the trail.
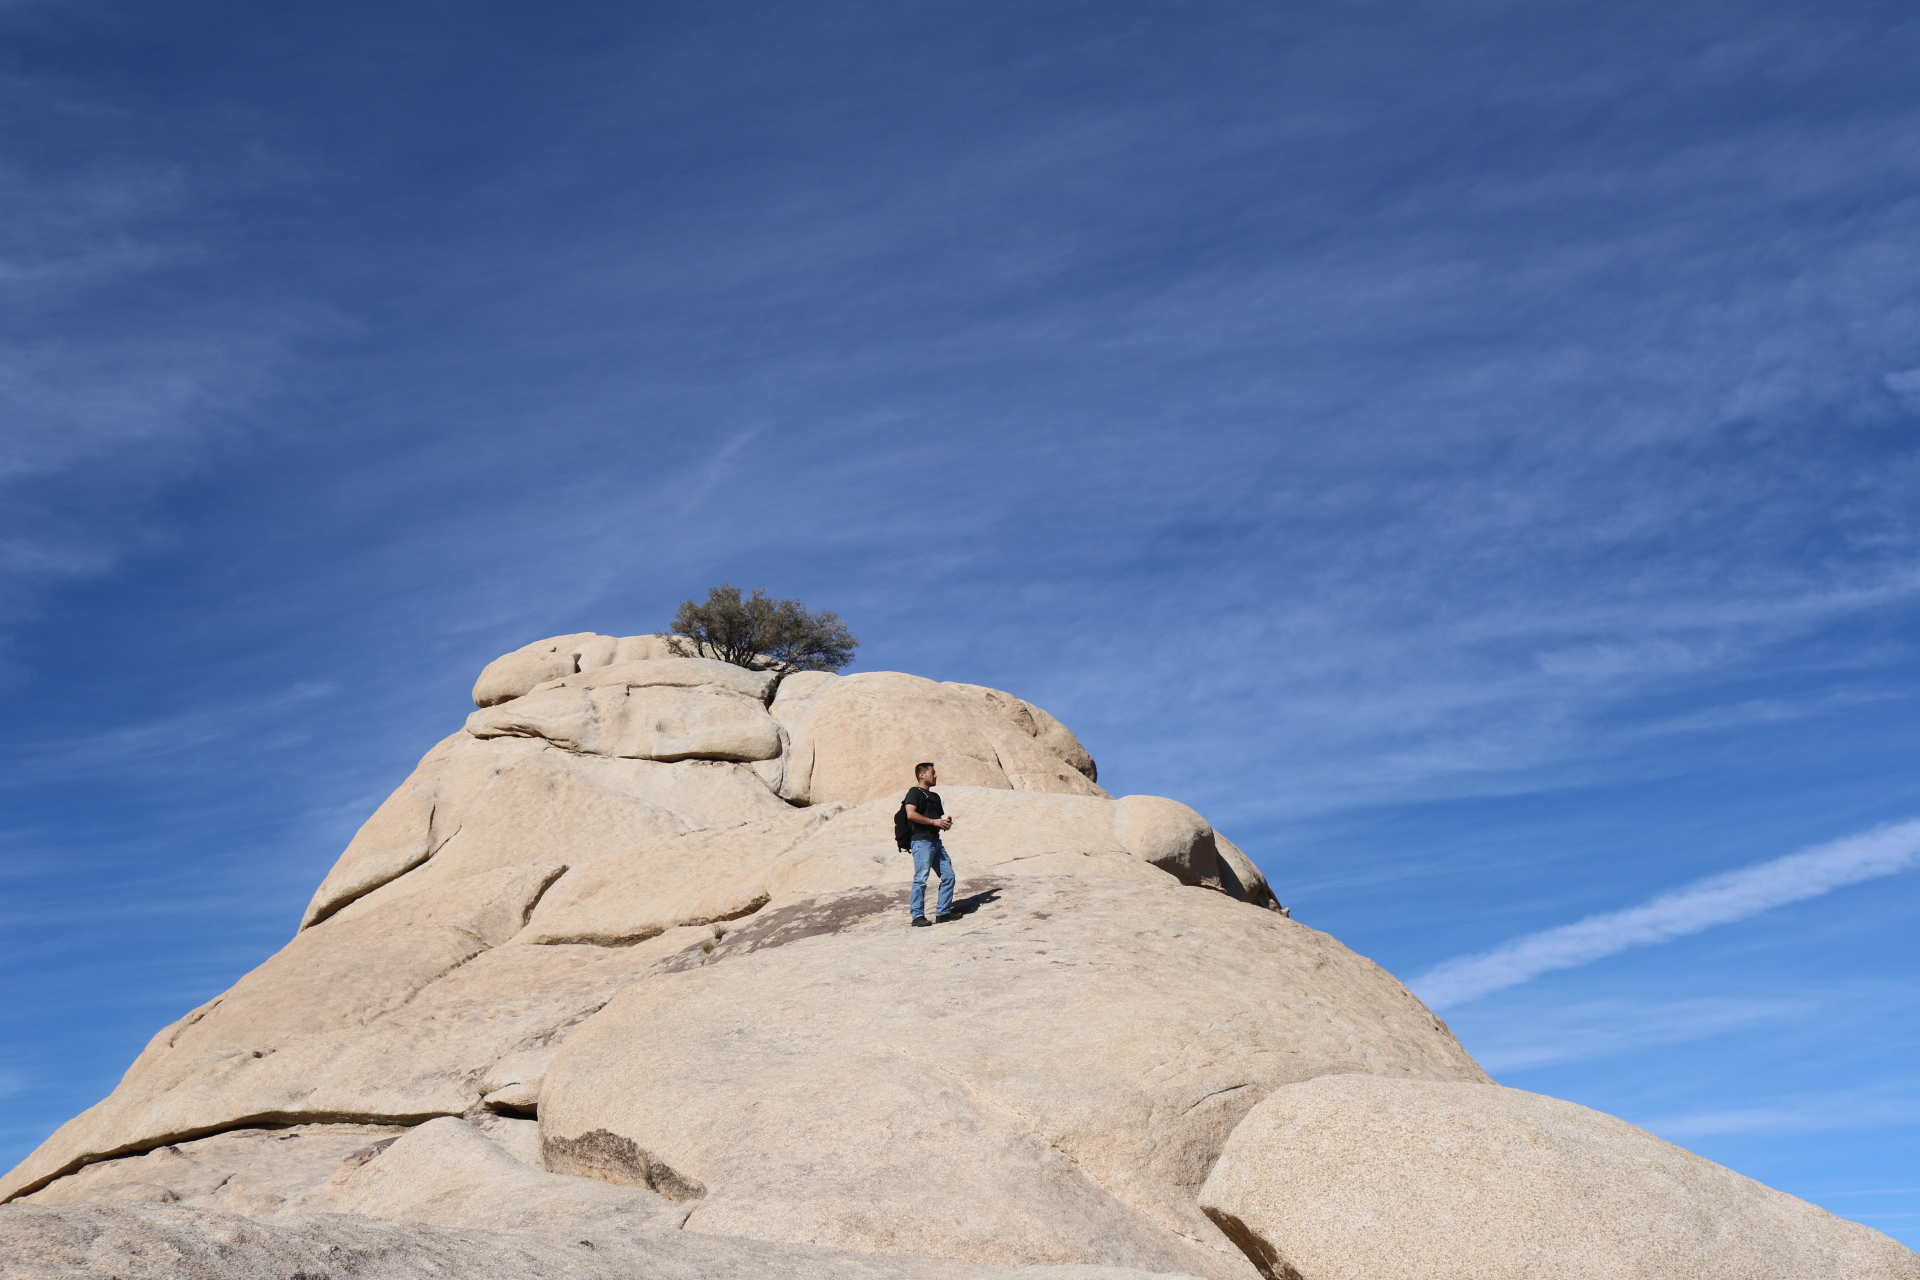
The loop is just over a mile long but you can spend the whole day here scrambling around and exploring side trails.
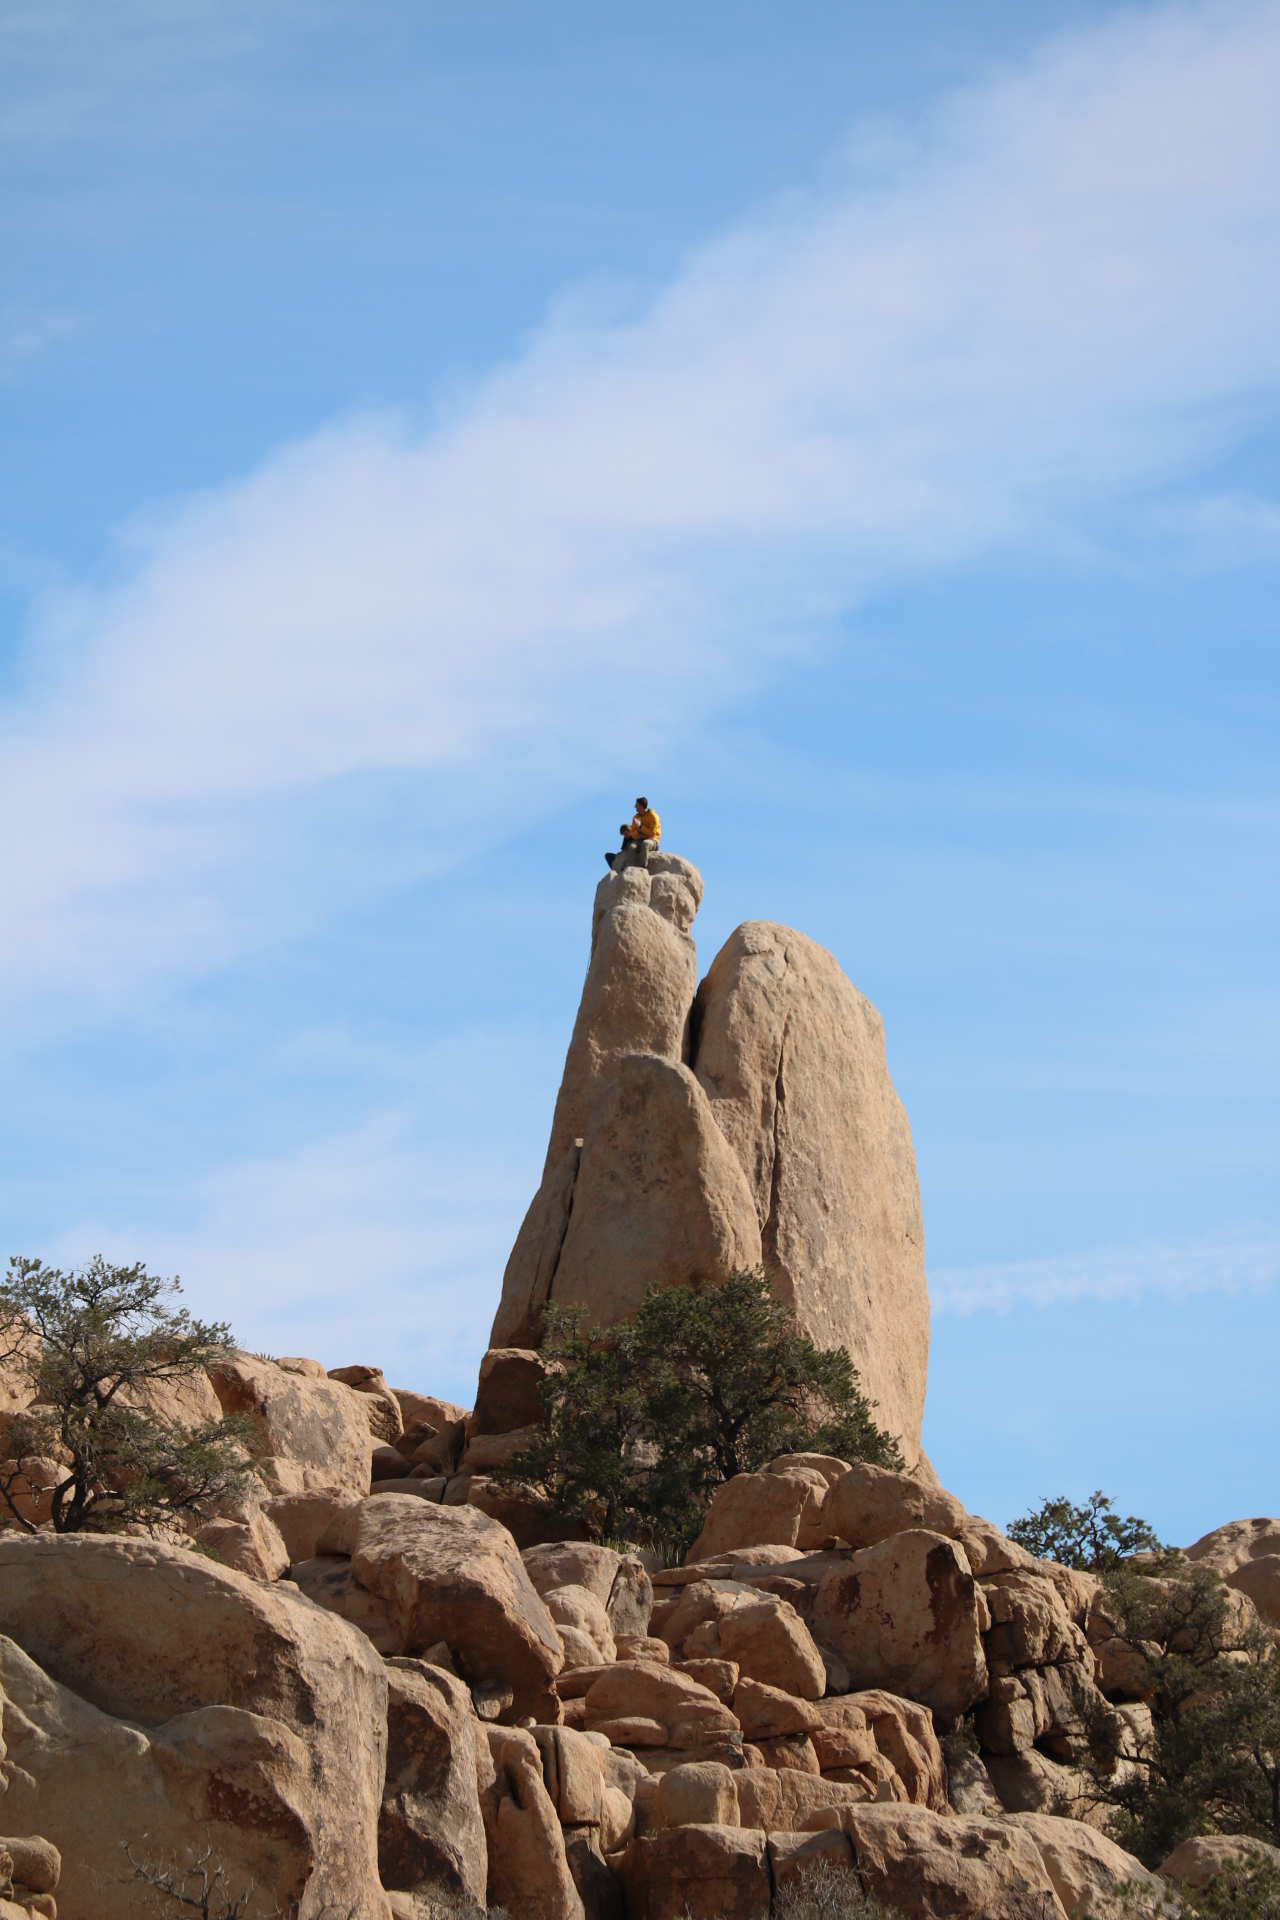
The valley loop is also popular with climbers. While on your hike take a moment to stop and scan the boulders you’ll most definitely spot someone taking in the views.
Mobius Arch is one of many natural arches in the Alabama Hills. It is the most popular though and gets many visitors on a daily basis. The drive up Whitney Portal Road is a beautiful one. Drive slow and enjoy the views.
View of trailhead and the Sierra Nevadas
After turning down movie road you drive down a couple miles and reach the Mobius Arch Trailhead.
One of many natural arches
The area is home to 100’s of natural arches so keep your eyes open and you might spot a few.
Sierra Nevada Mountains
Mobius Arch is about halfway up the trail. Its a loop hike so start in either direction and you will run into it. Actually going counter clockwise will probably get you there a bit sooner.
Mt Whitney
Here we have Mt. Whitney ( 14,508 ft), the highest point in the lower 48, framed by the Mobius arch.
This is a wonderful 10.5 mile loop that begins at the Trabuco trailhead. To reach the trailhead you you have to travel about 5.5 miles up Trabuco Creek Rd.This parking lot is a mile or so past the Holy Jim parking lot and is a lot smaller. It only fits about 6 vehicles so arrive early.
From the trailhead you will hike through a well shaded single track trail with a couple creek crossings, an old abandoned car and a sealed up mine. You will be on this trail for 1.7 miles until you reach the junction with the west horsethief trail.
abandoned car from the mining era
Sealed up mine
Once here you can go either straight or hang a right and the continue on the Trabuco Canyon trail. They both lead you up to the Main Divide Rd. The west horsethief trail is slightly harder since it is nothing but switchbacks and is fully exposed. The Trabuco trail partially exposed for the first mile or so then changes to a well shaded trail.
We took the easier route and took the Trabuco canyon trail. This trail offers great views of Santiago peak.
Santiago Peak from Trabuco Canyon Trail
The first part of this trail it fully exposed and can be a bit difficult but gets relatively easy once in the shade. About a mile before reaching the Main Divide Rd we came across a Christmas Tree that was decorated with ornaments apparently its a tradition amongst mountain bikers to decorate a tree during the holidays. This made for a great picture spot and a quick rest break.
Christmas Tree in the CNF
Pacific Ocean in the distance
Once you reach the main divide rd you will have a great view of Lake Elsinore.
Lake Elsinore
From here take the first left you will be on this trail for 2.5. On a clear day you will have great views of the 3 biggest peaks in So.Cal
Mt. Baldy, Mt. San Gorgonio, Mt. San Jacinto
After being on this trail for 2.5 miles you reach the West Horsethief Trail.
Trail is directly behind this post
This is a 2 mile trail that consists of nothing but switchbacks. It offers great views of Trabuco Canyon. From here it’s a total of 3.7 miles back to the parking lot.
This slideshow requires JavaScript.
Happy trails, Alex G. * HIGH CLEARANCE VEHICLE RECOMMENDED * • 10.5 mile loop • Creek crossing • sealed mine • Adventure pass required • 2,300 ft elevation change
I would never have guessed that a desert hike would crack my top ten list, but the Ladder Canyon is by far the most visually stunning hike that I have personally experienced in Southern California. I would definitely mark this as a must do for all hikers of all experience levels.
Big Ladder Canyon.
This trail is located in the the Mecca Hills of the Coachella Valley which border the northern shore of the Salton Sea. You probably would not want to attempt this hike during the Summer seeing how the temperature regularly surpasses 110 degrees during those months. We happened to catch a great break in the weather over the Thanksgiving weekend and the high temperature barely hit 80. This area is also known for very windy conditions and is also prone to flash flooding.
A portion of the Little Painted Canyon.
The four mile road into the trail, Painted Canyon Road, is unpaved and quite sandy. A 4-wheel drive vehicle is recommended but not necessary as long as you avoid the sandy patches of the road. We did see someone attempt to take their Mercedes coupe up the road for some unknown reason, and they wound up getting stuck in the sand. You should also pay close attention to where you park your vehicle. Try to select the more compacted soil to avoid getting stuck when trying to make your way out of the canyon.
The Ladder Canyon trail is a 4.5 to 5 mile loop, depending on the route you take, that actual begins and ends in the Big Painted Canyon. The slots of the Ladder Canyon are about 1/4 of a mile from the mouth of the Big Painted Canyon and are accessible only with the use of ladders that have been left by previous hikers. I have heard that the ladders can be swept away during flash floods. If we had not had the ladders present on the day of our hike I am confident in saying that the slots would be impassable.
One of the 3 ladders of the Ladder Canyon slots.
The slots only make up about 3/4 of a mile of this trail and then you make your way up 450 feet to the crest which supplies a beautiful view of the Salton Sea. From here you can choose to loop around through either the Little Painted Canyon, to the left, or the Big Painted Canyon, to the right. We came through the Big Painted Canyon and were treated with the opportunity to do a little repelling. The rock-scape in the canyon is not something I expected to ever find in the state of California. You can thank the San Andreas Fault for the spectacular scenery that is around every curve of the canyon. Overall, this is a very family friendly hike. We observed kids of all ages making their way through the slots….not necessarily making it the entirety of the loop. This was a very awesome experience and I will definitely be out there again in the very near future.
This weeks hike was an easy hike with a big payoff!
The trail begins on a service road directly behind the Ranger Station. This is somewhat like the beginning of The Blackstar Canyon trail. After a short distance you pick up a single track trail, Aliso Canyon Trail, which will give you great views of the rolling hills and a hint of the geological wonders that lie within the park.
At the 1.5 mile mark you will reach a junction, go right, and proceed on Wood Canyon Trail. This trail is very popular with bikers so be aware of your surroundings because they come flying down the trail. Along the trail you will notice Cave Rock on your left. Save that trail for the way back! After .5 miles you will reach the junction with Dripping Cave trail go left for .5 miles until you reach the cave. The cave is none like I’ve seen in OC. It’s very large and appears to be next to a creek bed and is hidden behind a grove of trees. It’s no wonder why the Bandits used this as a hide out.
On our way back from Dripping Cave we decided to check out the Cave Rock Trail. Even though it was only .25 miles long it was one of my favorite parts of the hike. This trail has multiple caves and has wonderful views of the canyon. The trail meets back up with Wood Canyon Trail making for an easy return with an added bonus! Click here for directions
cave rock trail
cave rock trail
cave rock trail
• 5 miles round trip
• elevation gain 200ft
• caves
• Difficulty – Easy
• Time – 2.5 to 3 hours
Mary Jane Falls… WOW!
This is probably the best hike I’ve been on so far for one reason and one reason only, the location!
Located 40 minutes north of the Las Vegas Strip there is a hidden paradise. A place that is overshadowed by the towering hotels and casinos. This amazing oasis is located in the Spring Mountains of southern Nevada.
This isolated adventure begins way before you reach the Mary Jane Falls Trailhead. As you leave the city in your rear view you will soon be driving down a one lane highway with amazing rockscape on either side. The scenery changes drastically in a matter of seconds. You will find yourself driving along a pine and campground filled highway (reminded me of the San Bernardino national Forest)
Now this is where the fun begins. Once you have parked you will notice the trailhead sign and the trail directly behind it. The first 1/3 mile is at a slight incline along a rocky trail. you will soon reach a sign that reads “trail” at the base of the switchbacks. (At this point I took some time to let my lungs adjust to the elevation before continuing) on the trail up the switchbacks you will see towering Ponderosa Pines, White fur and Aspen trees in the canyon below.
As you reach the top of the switchbacks you have an amazing view of Kyle Canyon and the canyon walls and you suddenly realize that you are 9,000+ ft above sea level. Such and amazing feeling.
When you reach the falls you will be in awe at the height of these natural wonders. The view is amazing! There are 2 caves, 3 waterfalls and a view of Big Falls, which is across the canyon.
I can’t wait till my next trip to Vegas. This is a must do hike. It is great for kids, dogs and adults.
The best part of this hike is that the temperature is 20-25 degrees cooler than in the LV valley. Excellent for hiking in the summer.
Happy Trails,
Alex G
•Waterfall
•1000 ft elevation gain
•Cave
•3 miles round trip
•free parking
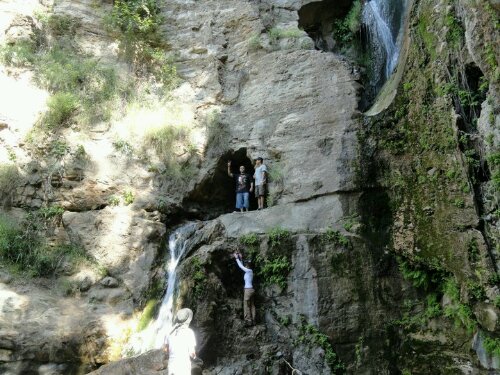
If you have grown up in OC, chances are that you have heard the stories surrounding Blackstar Canyon. These stories range from hauntings to cult sacrifices to murderous squatters. While I’m not willing to confirm or deny the validity of any of these tales, I can tell you that there is indeed a pretty spectacular waterfall hidden here.
Most hikers that venture into Blackstar Canyon never make it quite far enough into the canyon to find the waterfall trail. Those that do make it in are likely to pass right by the shrub covered creek entrance. From the parking area the creek entrance is 2.5 miles along a relatively flat fire road, and you can find it as long as you know what to look for. You will easily spot a couple of large concrete tubes at the point where the trail begins to climb. Directly to the right of these cylinders you will spot a small clearance in the brush that is bordering the trail. This is the entrance down into the creek.
The creek portion of the hike provides some pretty challenging boulder climbing which is obviously most difficult in the winter and spring months due to the rain. The trek through the creek is an additional 2.5 miles, but plan on it feeling more like 4 miles when you factor in all of the climbing. Be sure to pack plenty of water and some light snacks. A first aid kit would also be a wise choice. This trail is covered in poison oak and I have witnessed a pretty nasty cut resulting in 14 stitches as well as someone taking a tumble from the cave that is alongside the waterfall.
This is one of the more challenging trails that I have experienced in OC, but I would say that the payoff is well worth it. The Blackstar Canyon Waterfall is a spectacular site especially in the rainy season, and it is still very impressive in the dry season when the water is but a trickle. When you first lay eyes upon it I’m sure you’ll be just as surprised as I was that such a thing exists right in our own backyard.